Home › Guides › Edit a deep-sky stack
How to edit a Seestar deep-sky FIT file
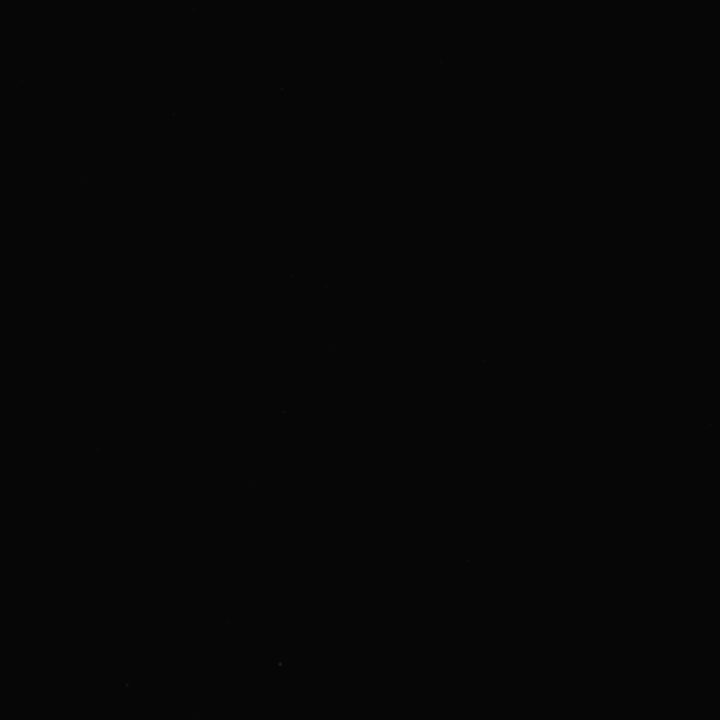
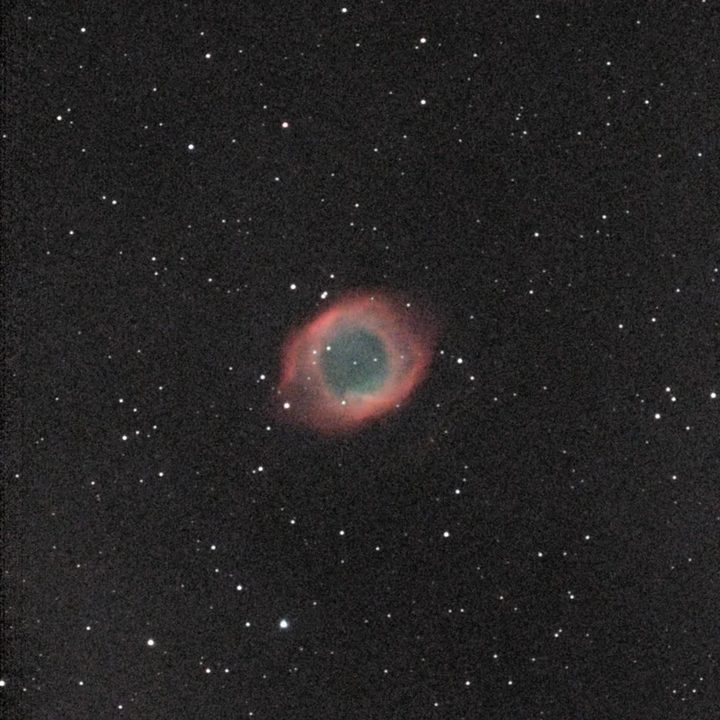
Your stacked .fit looks black because the nebula is only a little brighter than the sky. Stretch it, clean up the sky and grain, and set the colour, and it appears.
Updated 14 November 2026
Why does my .fit file look black?
The stacked .fit your Seestar or Dwarf saves is linear. Each pixel holds the light that reached the sensor, nothing more. Most nebulae and galaxies are only slightly brighter than the sky around them, so on a normal screen the whole picture sits near black. Only a few bright stars show.
The detail is in the file. You need to stretch it: brighten the faint parts a lot and the bright parts only a little. That is the step that makes the target appear.
The JPEG the telescope app shows you is already stretched and cleaned up for you. The .fit holds more: more shades between black and white, and no compression. That is why editing the .fit gives a better result than editing the JPEG.
What does editing a deep-sky image involve?
Whichever program you use, the usual steps are the same:
- Crop the ragged edges left where the frames didn't overlap.
- Even out the sky. City light and the frame edges leave one side brighter than the other.
- Balance the colour so the empty sky is grey and the stars are white.
- Stretch to bring out the faint target.
- Calm the grain in the dark parts, which stretching makes stronger.
- Make the stars smaller so they don't crowd the nebula.
- Set the colour and remove the green cast colour cameras leave.
Each step depends on the one before. Stretch before evening out the sky, for example, and the glow gets stretched too.
Siril, PixInsight or something simpler?
Siril is free and very capable, and PixInsight is the tool most experienced imagers end up with. Both give you full control and tools that AstroSlide DeepSky doesn't have. They also take a lot of learning, often with long video tutorials, and need a computer.
AstroSlide DeepSky is for when you want a good picture from your Seestar or Dwarf without learning a full processing program. It shows the steps above one at a time, in plain words, with one or two choices each. It runs in the browser on a phone or a computer, and your file never leaves your device.
Doing it in AstroSlide DeepSky
- Copy the stacked .fit from your Seestar or Dwarf to your phone or computer. It is the file named like
DSO_Stacked_….fitnext to the JPEG. - Open dso.astroslide.me and choose the file. No account or install is needed.
- Get your picture ready: crop away ragged edges if you like, then press Apply.
- Even out the sky: choose Off, Auto or Strong. Auto suits most pictures; see removing light pollution for when to pick Off.
- Balance the colour: Stars makes the sky grey and the stars white. Galaxy uses the galaxy's own average colour. Off keeps what your camera recorded.
- Tighten the stars: Light is safe. Medium can leave faint dark rings around some stars.
- Stretch: slide from gentle to punchy. Gentle keeps the sky dark and clean; punchy shows more, with more grain. Press Apply Stretch.
- Calm the grain, Tame the stars and Set the colour: each has one or two sliders. Skip any step you don't need.
- Fine-tune is optional: a brightness curve and contrast.
- All done: save your picture.
A mono picture skips the two colour steps. If you prefer to see every control at once, choose All controls.
Is it free?
You can try it free: crop, even out the sky, balance the colour, sharpen and stretch until your target appears. A one-time $12 unlock adds the finishing steps (calm the grain, tame the stars, set the colour, fine-tune) and saves full size with no watermark, as JPEG, 16-bit TIFF or FITS, on up to 3 of your devices. There is no free save.
Are the colours real?
DeepSky only works with the light your telescope recorded. It doesn't use generative AI and doesn't paint in detail or colour. If the faint outer gas isn't in your data, it won't appear. A longer stack is the only way to get more of it.
Tips
- More time beats more editing. An hour of frames gives a smoother sky than any denoise can.
- Go easy on the stretch. If the dark sky turns grey and grainy, pull the strength back towards gentle.
- Want to stack yourself? If you saved the single frames, you can stack the _sub folder in DeepSky too.